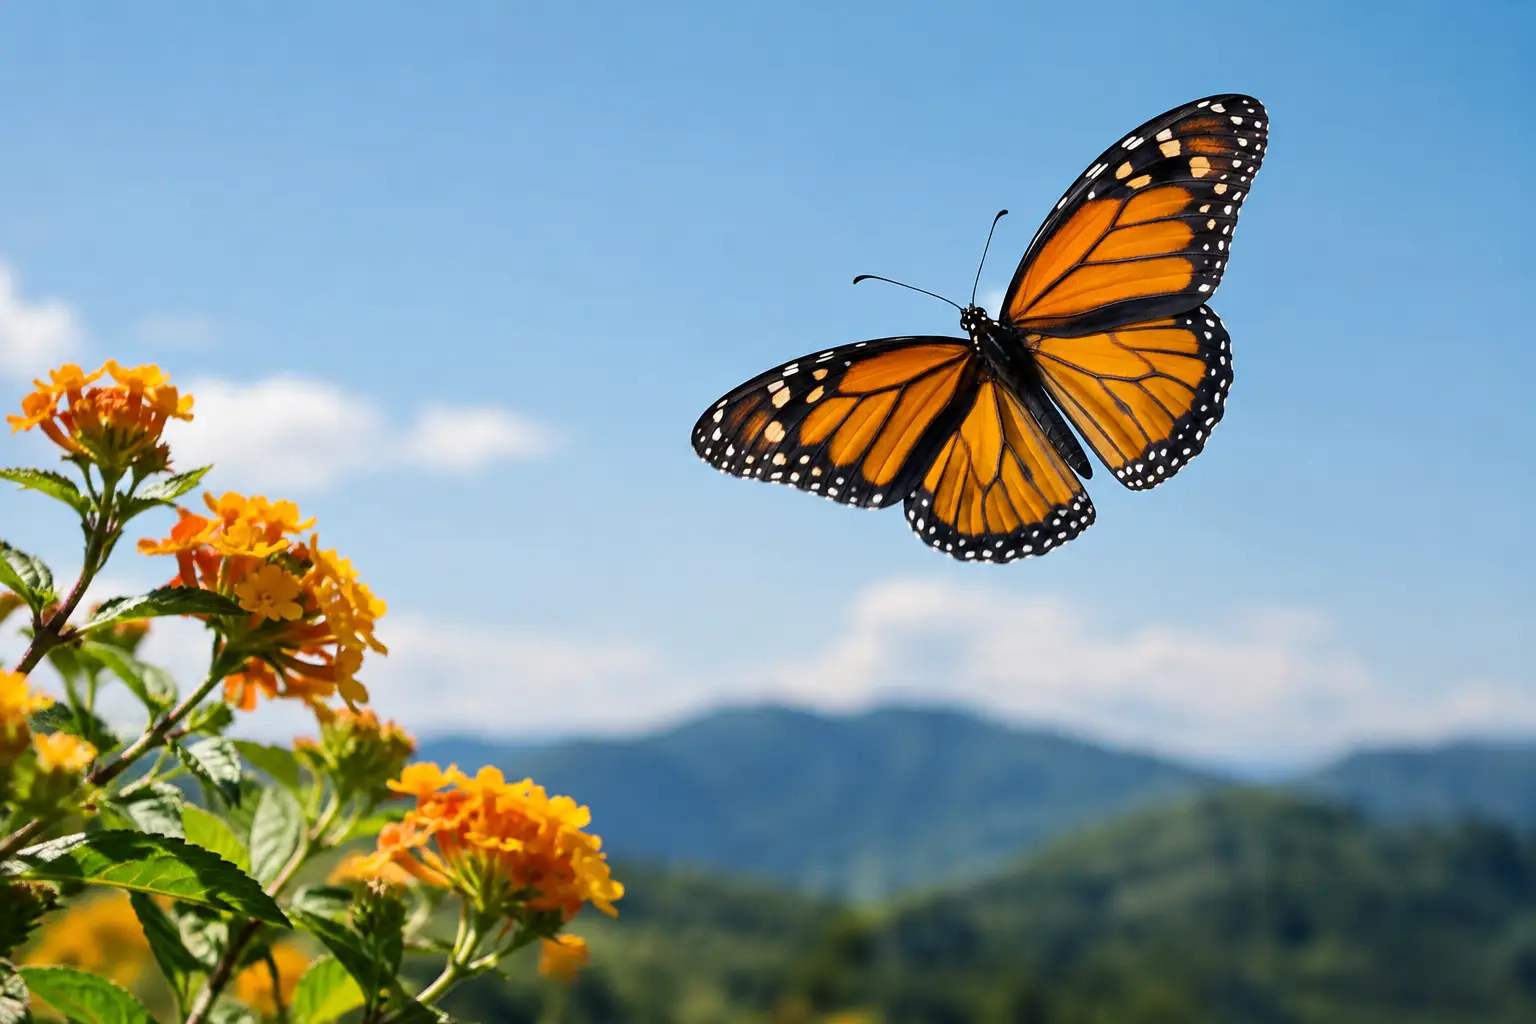
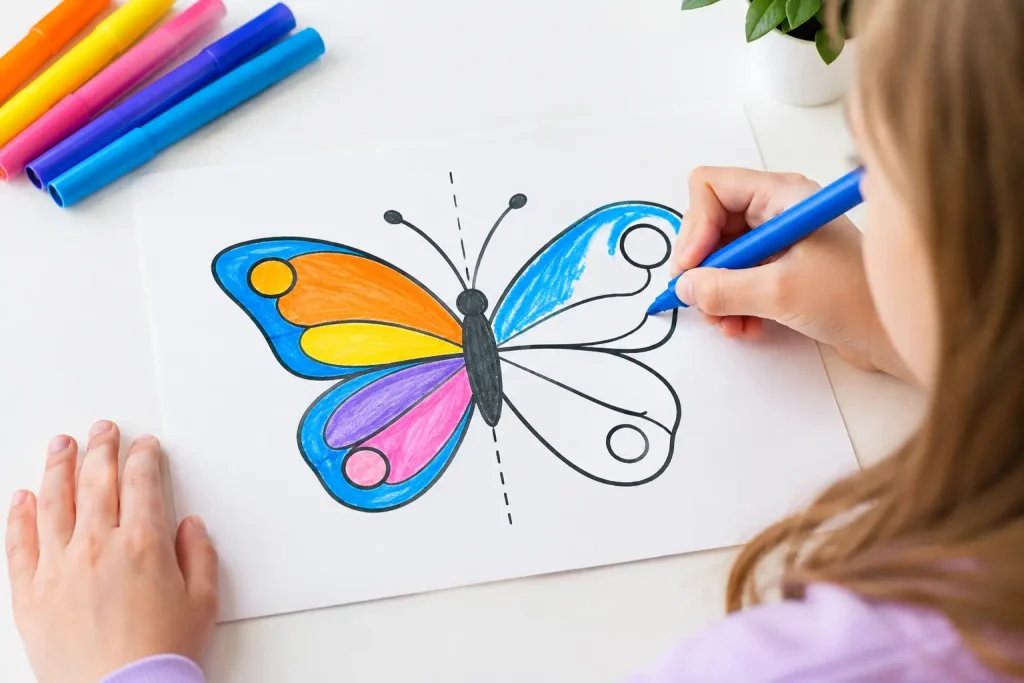
A butterfly resting on a flower can look as if someone folded a bright piece of art right down the middle. One wing mirrors the other, with colors and shapes that seem to belong together. That beautiful detail makes a butterfly symmetry activity kids can do at home or school feel less like a lesson and more like a small nature-inspired surprise.
Children do not need to memorize big science words to begin noticing symmetry. They only need a folded page, a few drops of paint, and the happy moment of opening the paper to see what appeared. Along the way, they practice careful observation, creative decision-making, and the patience that nature invites us to slow down and enjoy.
What symmetry means to young butterfly watchers
Symmetry happens when two sides of something match across a line in the middle. A butterfly is a lovely example of bilateral symmetry. If we imagine a line traveling from its head down through its body, the left and right sides of its wings have matching shapes.
For young children, it helps to keep the explanation simple: “A butterfly has two wing sides that are partners.” Point to one wing, then the other. Ask your child what they notice. Are there similar colors? Do they see a spot on both sides? Which shapes look alike?
Real butterflies are not always perfectly identical, and that is worth celebrating. Tiny differences can happen in nature, just as they happen in a child’s painting. The big idea is not to make an exact copy. It is to notice how the two sides relate to each other.
A fold-and-print butterfly symmetry activity for kids
This activity works especially well for preschoolers, kindergarteners, and early elementary learners. Younger children may need help with folding and opening the paper, while older children can plan their patterns with more detail.
Gather a few simple supplies
You will need:
- Plain paper or light cardstock
- Washable tempera paint or washable paint markers
- A paintbrush, cotton swabs, or spoons for adding paint
- Scissors for adult or child use, as appropriate
- A pencil or crayon
- A paper towel or damp cloth for quick cleanup
If paint is not a good fit for the day, use dot stickers, torn tissue paper, or crayons instead. The folding-and-matching idea stays the same, even when the materials change.
Make the butterfly print
Begin by folding the paper in half vertically, then open it again. The crease is the butterfly’s center line. You can draw a simple narrow body along that line, or let your child add it after the paint dries.
On one half of the paper, invite your child to place small dots, swirls, stripes, and blobs of paint. Encourage them to keep the paint close enough to the fold that it can press onto the other side. A few small amounts of paint work better than thick puddles, which can make the picture muddy.
Before the paint dries, fold the blank half of the paper over the painted half. Press gently with flat hands, counting slowly to five together. Then open the page with anticipation.
The reveal is the heart of the activity. “Look,” you might say, “the paint traveled to make a partner wing!” Let children react before adding more instructions. Some will see a butterfly right away. Others may see a flower, a mask, or a colorful creature from an imaginary garden. There is room for all of that wonder.
Once the paint is dry, draw a body, head, antennae, and perhaps a favorite flower beneath the butterfly. If desired, carefully cut around the outer wing shape. A child can also give the butterfly a name and tell a short story about where it is flying.
Questions that build curiosity without turning play into a quiz
The best conversations often happen while little hands are busy. Rather than asking for one correct answer, offer gentle invitations to look more closely.
Try saying, “Can you find two matching spots?” or “What shape did the fold make on the other wing?” You might ask, “If you could choose colors for a butterfly living in our garden, what would you choose?” These questions support color words, shape recognition, descriptive language, and imagination all at once.
After the painting is open, place a finger lightly on one paint mark and ask your child to find its matching mark across the crease. This is an easy, hands-on way to show that the fold line is called a line of symmetry.
For a classroom or sibling activity, display several finished butterflies together. Notice how every page used the same folding idea, yet every butterfly is different. That can lead to a kind reminder: nature is full of patterns, but no two discoveries have to look exactly alike.
Bring the learning outdoors
A paper butterfly is a wonderful start, but a quick outdoor observation helps children connect their artwork to the living world. On a walk, look for butterflies, moths, leaves, flowers, and even insects with bodies that have a left and right side.
There may not be a butterfly nearby on the day you look, and that is okay. Nature observation teaches patience, too. Pause beside a flower and wonder aloud who might visit it later. Look at a leaf with a center vein. Do its two sides look like partners? Search for patterns on petals, pinecones, or fallen feathers.
Remind children that butterflies are gentle wild visitors. We can admire them with our eyes, give them space, and help them by caring for the plants and places they need. A small act, such as leaving flowers blooming or placing a shallow dish of water with pebbles nearby, can become part of a larger conversation about being kind to backyard creatures.
Extend the butterfly symmetry fun
If your child wants to keep creating, let the first print lead into a few calm, connected activities. Fold a new page and make a crayon rubbing on one side before copying the colors to the other. Create a butterfly with collage pieces, placing matching paper shapes on each wing. Or draw only half of a butterfly and invite your child to finish the partner side.
Older children may enjoy making a “symmetry hunt” page. Fold a sheet down the middle, draw a line, and add simple objects that could have matching halves: a heart, a face, a leaf, a beetle, or a flower. They can decide which objects look symmetrical and which do not. This is a thoughtful next step because it shows that symmetry appears in many places, not only on butterfly wings.
A story can deepen the experience, too. In Abel & Ruth Discover Butterflies, young nature explorers can carry the spirit of butterfly watching into reading time, then return to their own painted wings with fresh ideas about color, patterns, and caring for the outdoors.
When the activity does not go as planned
Paint prints can surprise us. Sometimes there is too little paint to transfer clearly; other times there is so much that the colors blend into brown or gray. Neither outcome means the activity failed. Ask what happened, then try again with a different amount of paint or a new color pair.
Children who dislike messy paint may prefer stickers or pre-cut paper shapes. Children who find folding difficult can work with an adult partner: one person places the marks, and the other folds and presses. The goal is shared discovery, not a picture that belongs on a museum wall.
Set the finished butterflies near a window, on a refrigerator, or in a classroom display where children can revisit them. Each time they point out the matching wings, they are practicing an early math and science idea through something colorful, personal, and full of life.
The next time a butterfly floats past, your child may look a little longer – not just to admire its wings, but to notice the quiet pattern they carry together.